

Having driven our camper van for several months (and about 5,000 miles) now, we felt that it would benefit from having a reversing camera. The vision is generally pretty good using the mirrors, and being able to see a bit through the rear windows – but there is still a blind spot directly behind the back doors. It would e very easy to reverse into a tree, post, animal or (terrifyingly), a child.
So, having read up on the subject, and searching eBay, YouTube etc. in the end I decided to try and install a wireless system. The other issue that I wanted to address at the same time was the lack of a satnav in the van. Therefore, my idea was to add a reversing camera (in place of the high level brake light) and then connect it (wirelessly) to a screen that was also a satnav.
There were some provisos:
1.) I didn’t really want to drill any new holes in the van, hence replacing the brake light with a camera – rather than fixing a camera to the bodywork.
2.) I only wanted 1 screen on the dashboard. So a satnav that could also work as a screen for the reversing camera would be ideal.
3.) I didn’t want to drag long wires underneath the van – so I wanted a wireless system.
4.) There’s no rearview mirror in the van, so I wanted a system that could fit on the dashboard.
5.) The blackout screens that close across the front windscreen, would not close properly if we fitted something to the windscreen, so it had to be on the dashboard.
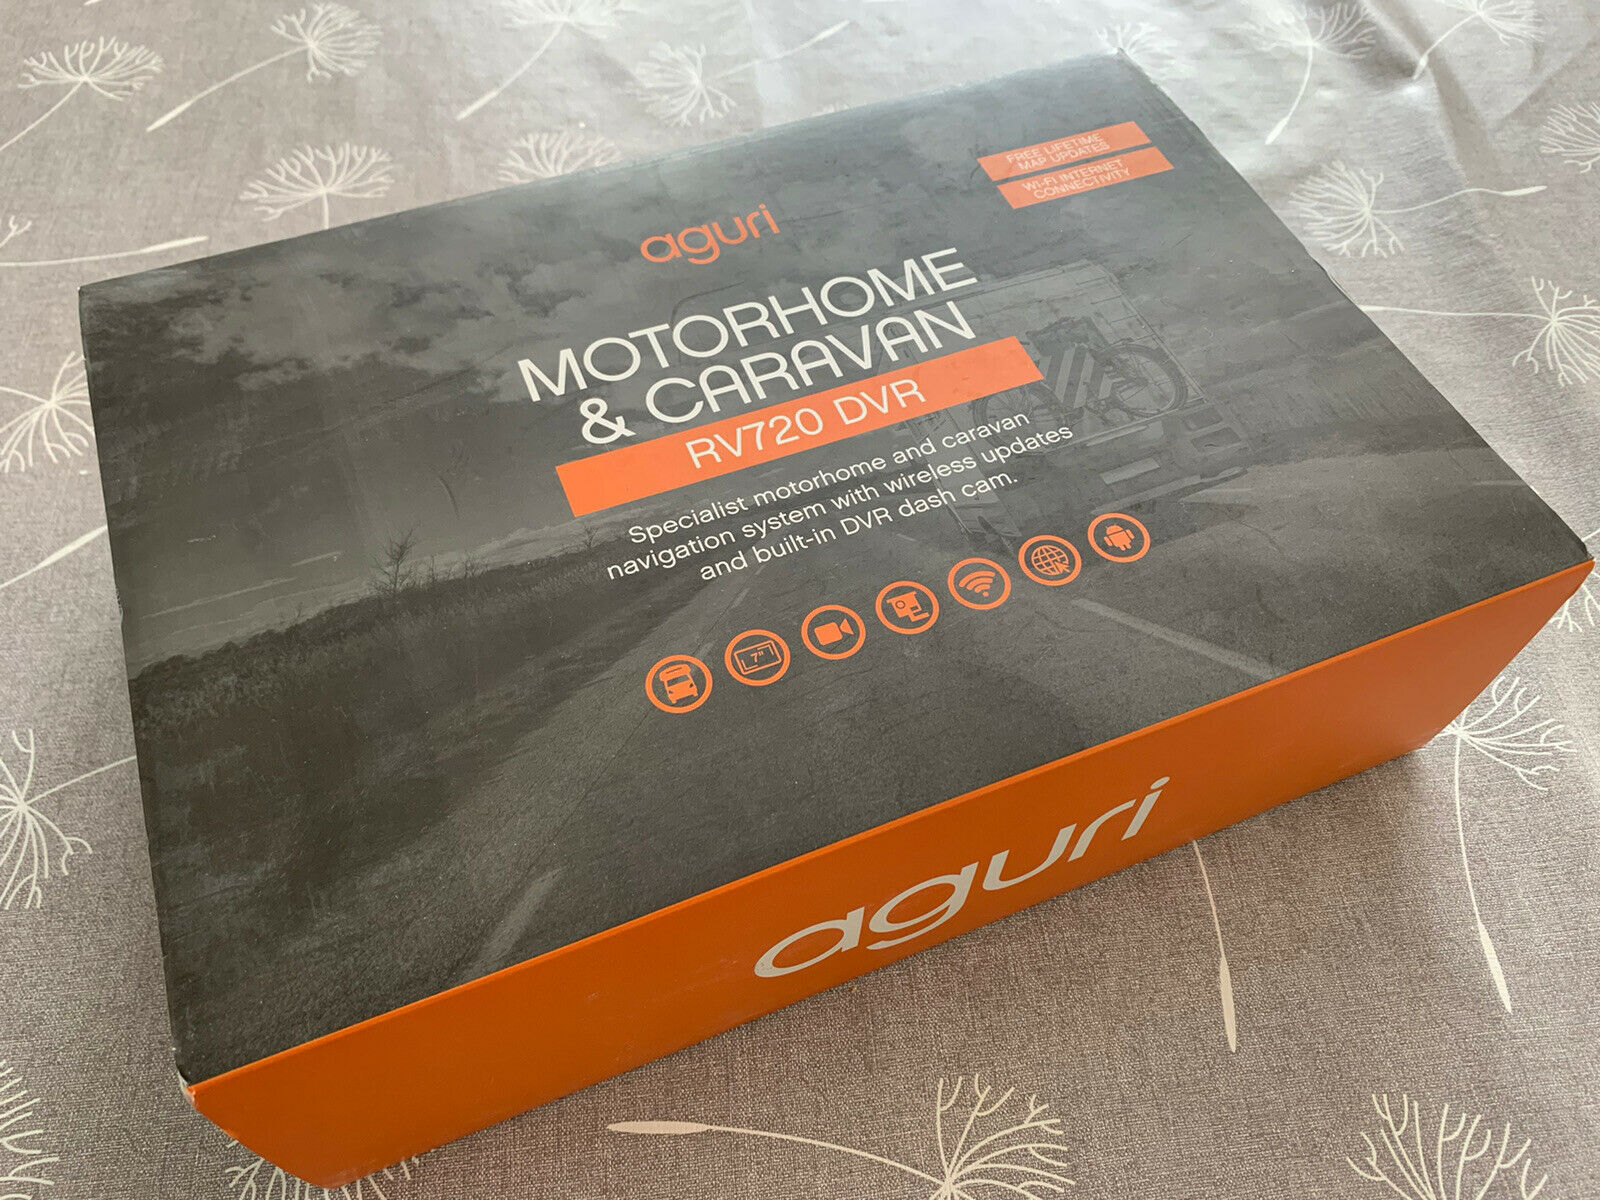
I hunted for a satnav that would also allow input from a reversing camera. I found that the Aguri 700 series had a reversing camera input. Aguri do supply a camera too, but it’s one that would need to be fixed to the bodywork, probably needing drilling. This model also has a front facing camera which acts as a dash cam. Another bonus! I looked for a second hand Aguri RV720 (bigger screen than the RV520). I found one that had not had much use and bought it on eBay for £180. (The cheapest new one I could find was £259 so it was a good saving – but only if, like me, you don’t mind taking a slight risk – otherwise, better to buy brand new).
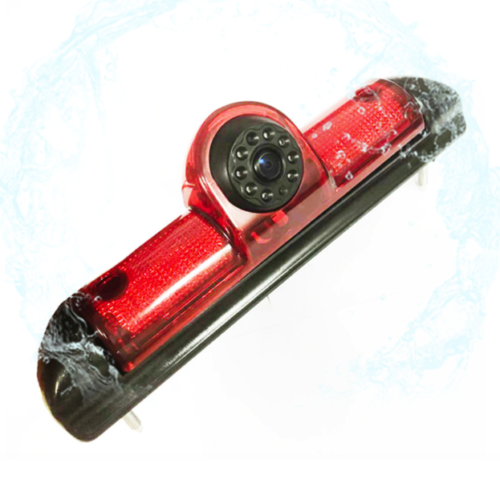
Then I looked for reversing cameras. There are lots of very cheap ones – but they all need drilling. So I opted for the one in the picture. Whilst many sellers on eBay have these on at £130+, this one was £34.99 which seemed reasonable.
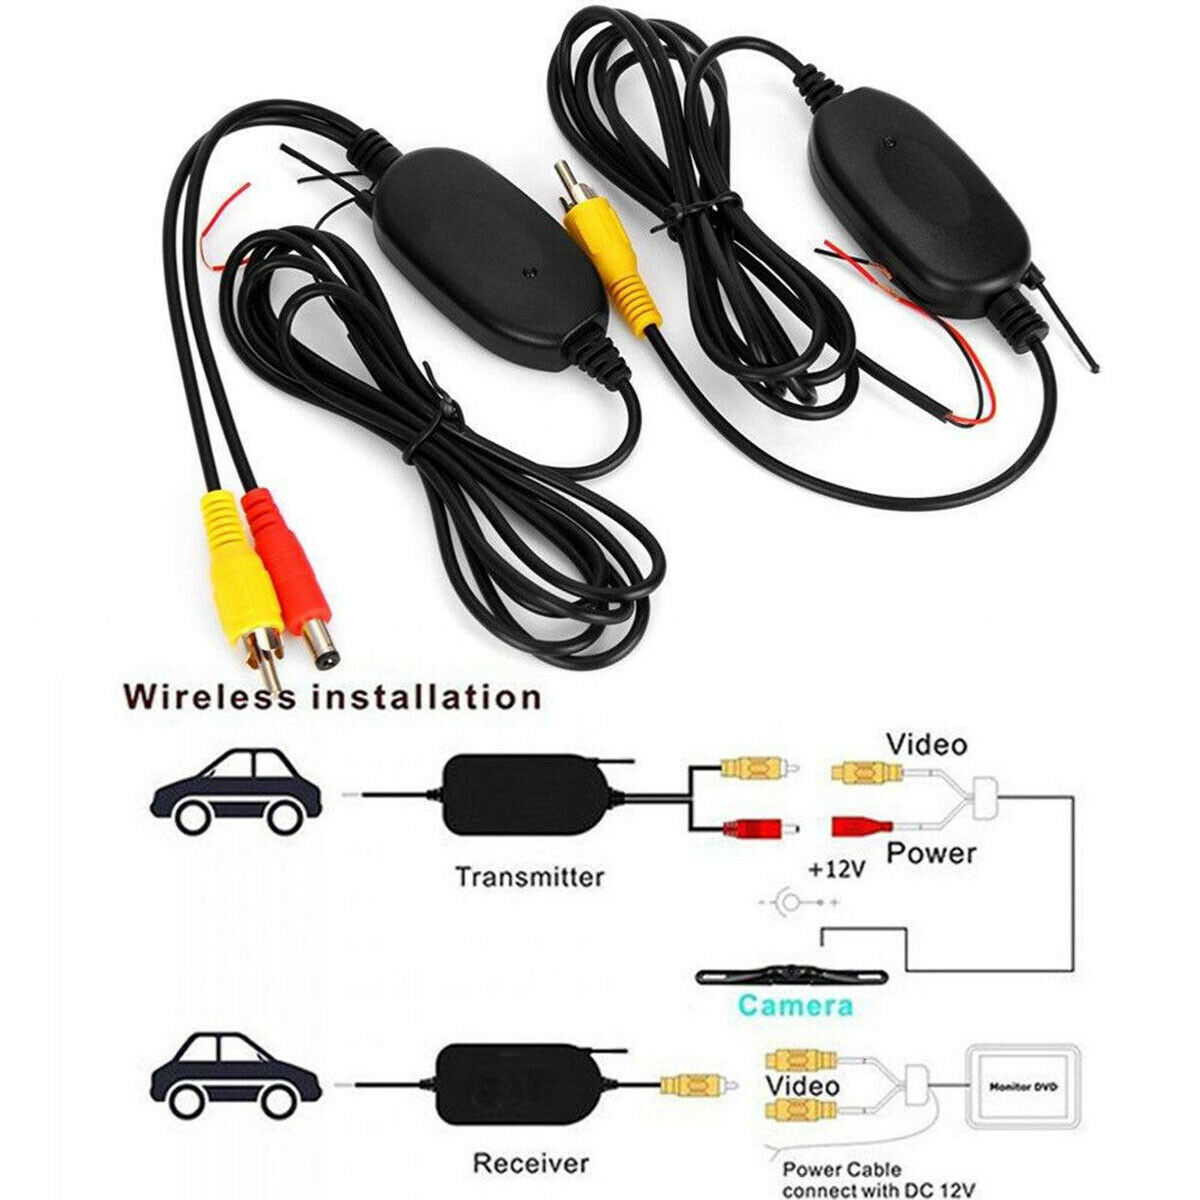
Thank I needed a wireless system, consisting of a transmitter and receiver – with the right inputs for a reversing camera. I found one on eBay for £9.99.
Total price so far: £224.98
The Aguri RV720 satnav/screen arrived first. It was in excellent condition, complete with case, lead, stand and original box. I played around with it for a couple of days and added the dimensions of our van etc., tested the dash cam added our address as the ‘home’ point. Then I took it over to the van to check out the place place to install it. On the way to the van, I DROPPED IT! The screen smashed and it now refused to work properly. Bum! My stupid fault. As you can imagine, I was very cross with myself. Luckily, Aguri have an excellent repair system. I rang up, explained what had happened. They assessed the damage and quoted me a price of £50 and supplied me with a repair number. I posted the satnav to them (in its case with a note of our address and the repair number etc). The new screen was fitted in a couple of days. Aguri rang me up for the payment – as quoted – and posted it back the same day. They had also updated everything for me too! It was delivered the next day (to the wrong address – but that’s another story).
Then the brake light/camera arrived. It had some instructions and several cables. The instructions are almost unintelligible so – it was really all about using logic.
A few days later the wireless system arrived. Having ordered the system I had watched a few videos which said the cheap wireless systems were rubbish – so I was a bit doubtful about whether it would actually work. Even if it didn’t though, the camera had a long wire which could be used to install the system instead.
I would really liked to have tested it all out before fitting it – but there were so many wires that it would have taken nearly as much time just to test it – as it would to fit it in the van. So I decided to fit it all – but leave it all accessible so I could change things if it didn’t work.
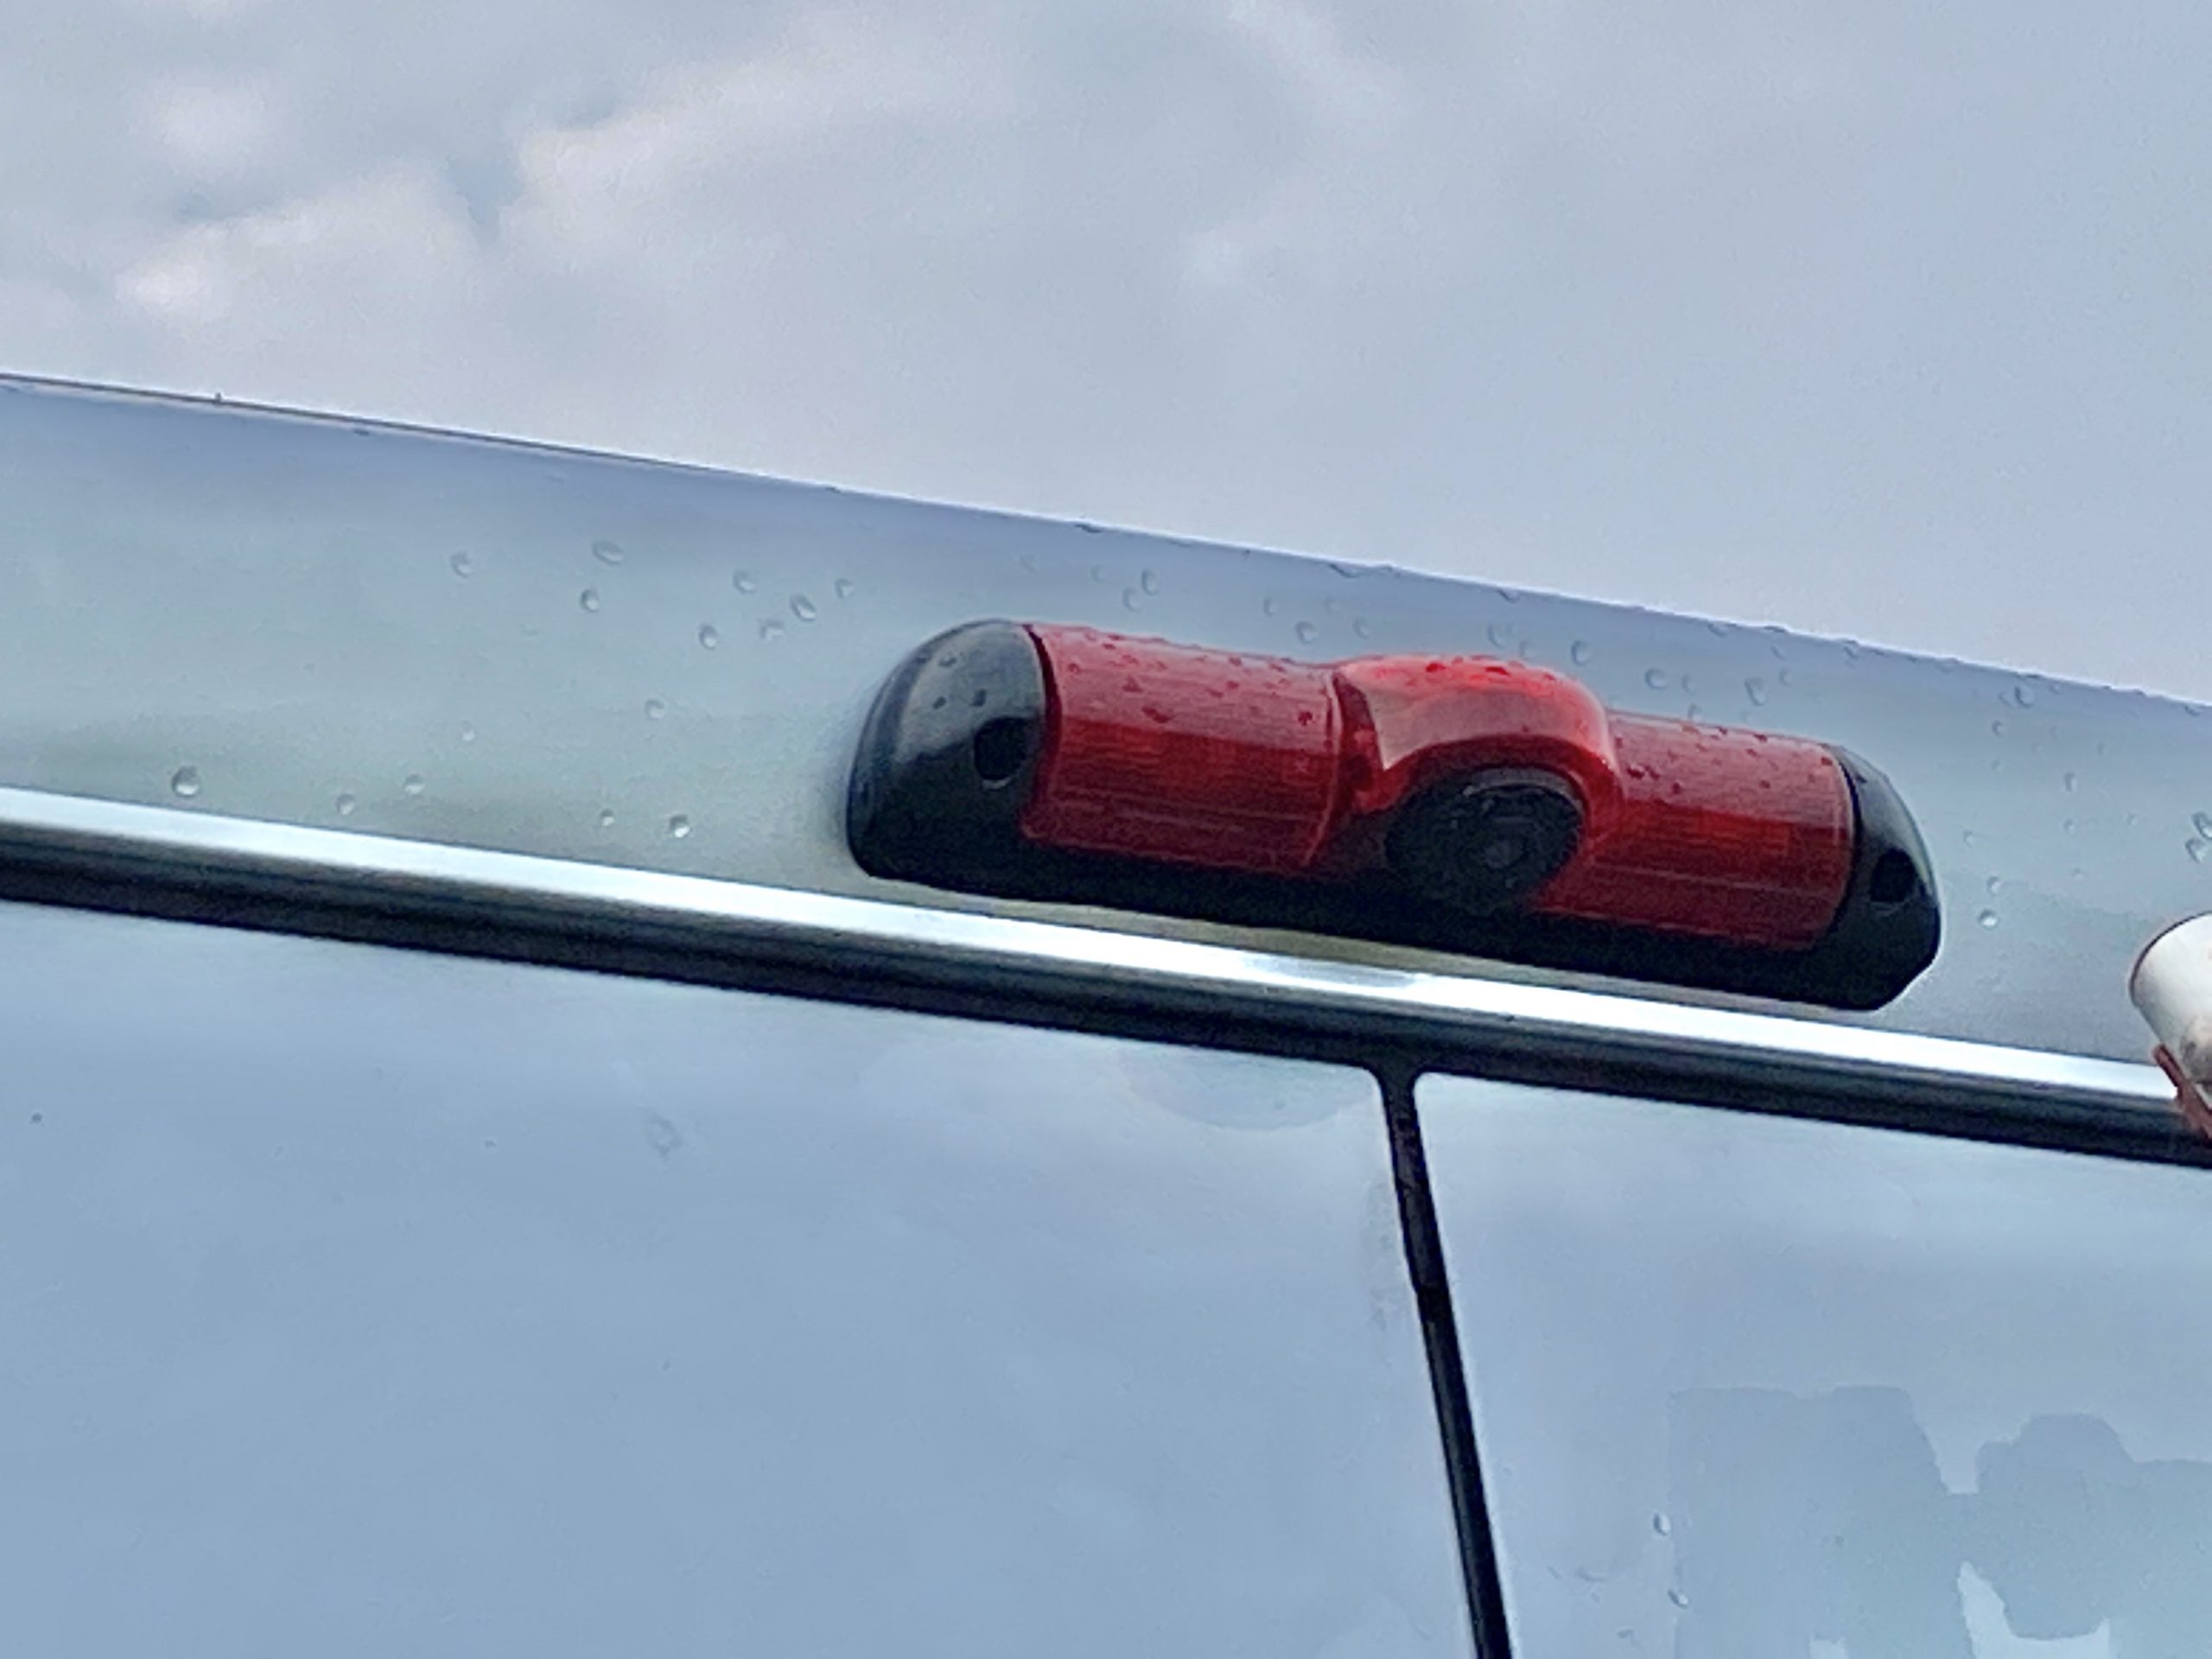
I started by fitting brake light / camera. The fist issue was that, although the bolt holes line up, the fitting systems between the old brake light and the new one, were different. The upshot was that I had to glue the nuts onto the body work, so that the bolts had something to screw into. Even this was way more difficult than I expected.
There was a connector block for the brake light. I had to cut this off and put new connectors on the wires. Then I turned the ignition on and tested the brakes. The brake lights came on! So far so good. Then I realised that one of the wires going out of the new bake light/camera needed to be attached to the existing reversing lights. Using Google, I found that the consensus seemed to be that it was a white wire with a green fleck. The next job was to remove the rear light cluster. Looking online for advice on how to do this was fruitless. So I had a look at the Peugeot Boxer vehicle manual. Obviously some of this was made more difficult because the back of the van has been converted into a camper van and so there is trim over the top of the van body. As it turned out, I’m glad I found out how to get the light cluster off – as I would need to do this if one of the bulbs blew and need to be replaced. (Basically, I had to remove some of the rear interior trim so I could get at the back of the light cluster. Then I had to use a special tool that is in the tool box under the passenger seat, to remove the 2 large fixings. The light cluster then comes away. I found the white wire with the green fleck).
In order to feed the wire from the camera to the wire behind the light cluster, I used a bendy drain clearing tool that I found under the sink. Once that had negotiated its way around the insulation, wires and other stuff, and exited down by the light cluster, I attached some string and pulled that back through. I then used the string to pull the wire through. I spliced the wire with the reversing light wire. I attached the negative wire to a predrilled hole in the body work. This all sounds quite simple and straightforward – it wasn’t. But I got there in the end.
So now the camera (and wireless transmitter) is attached to the power (via the reversing light). (There’s a little light on the transmitter which comes on when power is attached. So I tested that it was working before sealing everything up by turning on the ignition and putting the van into reverse. The little light came on. It was working.
At the front of the van, we now need to attach the wireless receiver to the satnav. For this, I discovered that I needed an extra small jack plug. So I ordered one from Aguri (£5.99). I also ordered some connectors so that I could attach the receiver to a cigarette lighter socket. And because I knew that it would be permanently taking up a lighter socket, I also ordered a socket extension that went to two sockets, on the end of a wire so they could be hidden away in a glovebox. All ordered online. And all arrived within a day or two.
Once I had used the new input jack, connected to the wireless receiver, connected to the cigarette lighter socket, I could then try testing the system. I tuned the ignition on and put the van into reverse. Hey presto – the camera signal appeared instead of the satnav map and I could see a bit of our back garden. It worked!!!
Then I spent another hour or two replacing all the trim, and putting all the tools away etc.
The whole job took way longer than I expected. And I had to buy a few more bits than expected. But all in all, I’m pleased with the result. I’m not sure if anyone has installed one in quite this way before… but it works. Cool!
Total cost £235.85 and 1 full day fitting (and about a week thinking about it, mulling it over, looking for bits of wire, bolts, information, watching videos etc.)


Recent Comments